
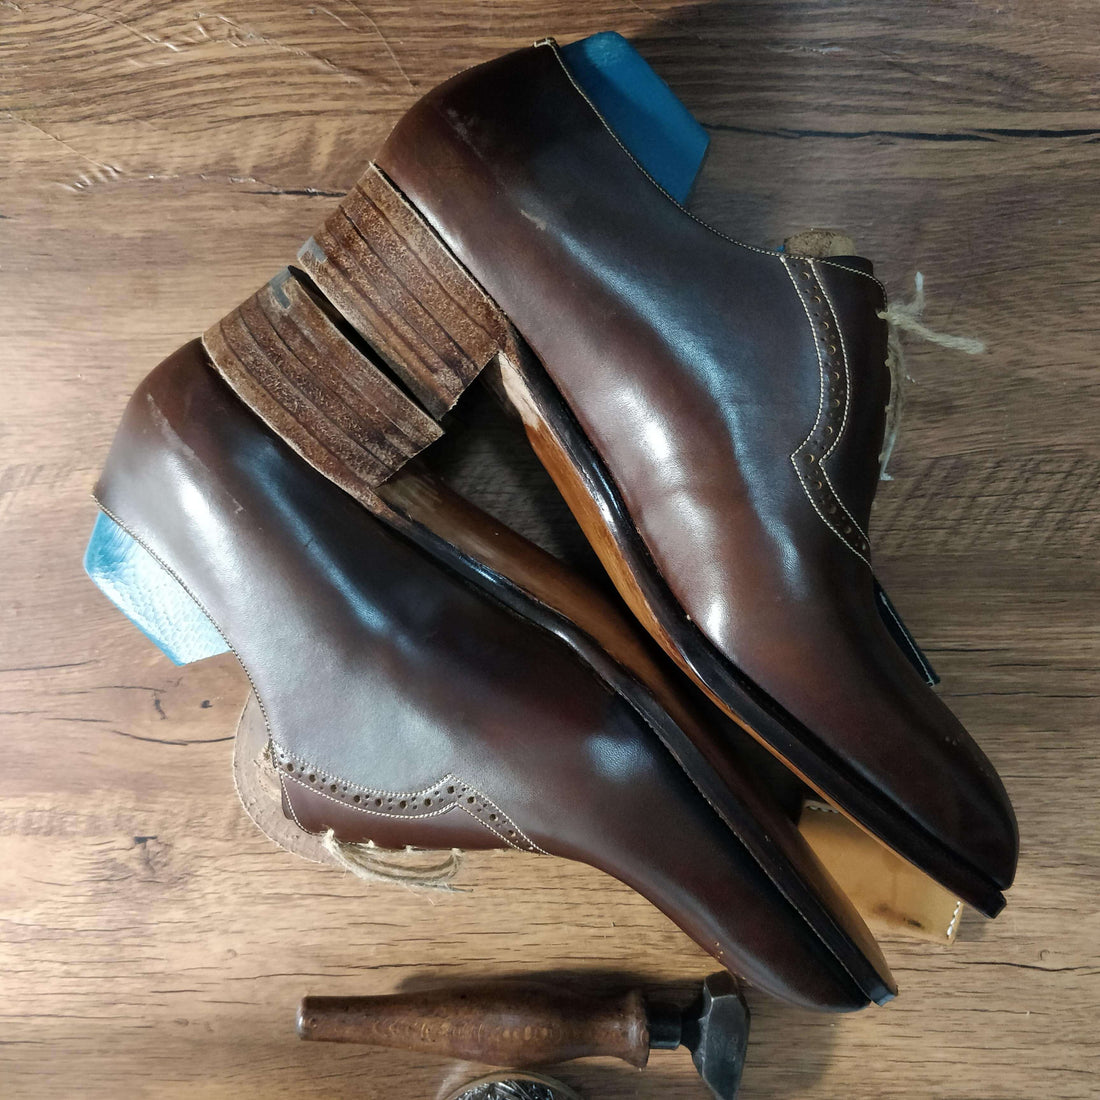
Shoe Making: Heel Finishing
The finishing stage is arguably the most important step to get a beautiful looking shoe. A well-constructed shoe with poor finishing just looks awkward or cheap.
Finishing shoes properly takes a lot of patience and takes up a disproportionate amount of time. For me, finishing takes up more time than welting and stitching the outsoles combined.
Here's some photos of some steps during heel finishing.
This step starts after the shaping the heel with a knife and after rasping. Wet the heel slightly and take a broken piece of glass and run it against the heel stack to remove all rasps marks
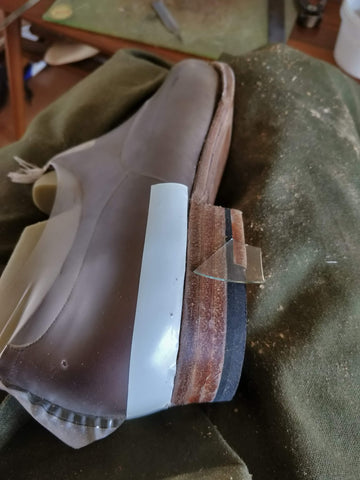
Shaving with a broken glass

After shaving
Using sandpaper, sand the edges. I usually progress from 100 to 180 to 240 and finally 400 grit. This step should be done when the leather is dry and can be done sanding in any direction.

Sanding
Wet the leather slightly and take the used 400grit sandpaper and go over the edges again, this time only in one direction and slightly more pressure. The grain surface should look completely even and smooth.

Before and after wet sanding

After burnishing with only satisfactory results, far from perfect given the unevenness

Heel lightly scoured. Much more even than the previous heel.

Inked and lightly brushed